Are you tired of searching for the perfect canvas size or want to save money by stretching your own canvas? You’re in luck!
In this step-by-step guide on how to use canvas stretcher bars, we’ll walk you through the process of using canvas stretcher bars to create a custom, professional-quality canvas for your next masterpiece.
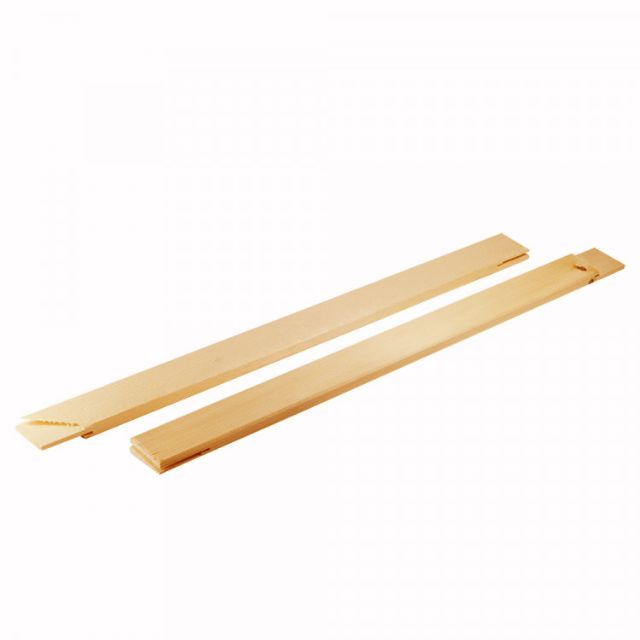
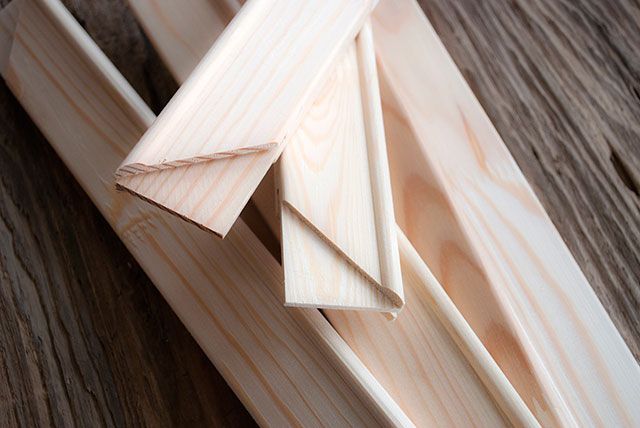
Canvas stretcher bars, also known as canvas bars, play a crucial role in providing an optimal surface for painting.
They are the wooden components of canvas frames, used to stretch and support the canvas, ensuring it remains tight and smooth throughout the creative process.
A proper canvas stretching job is essential for achieving the best results in your artwork.
Using stretcher bars for stretching canvas allows you to create your own canvas with customized size and dimensions, making it a cost-effective approach.
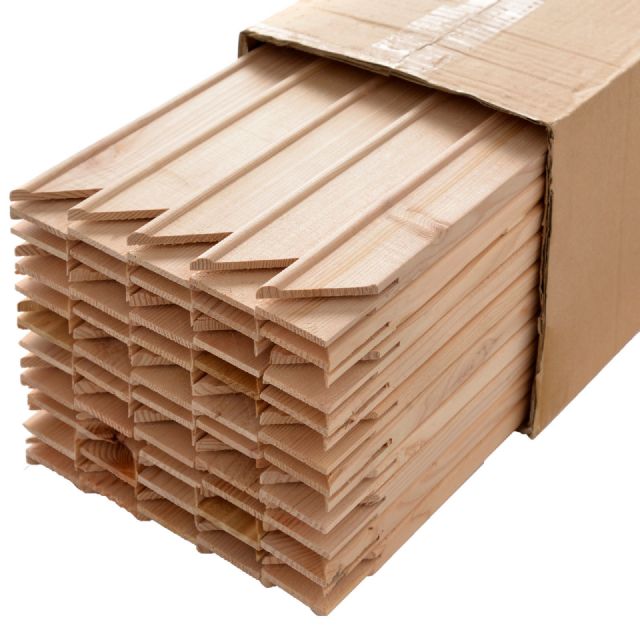
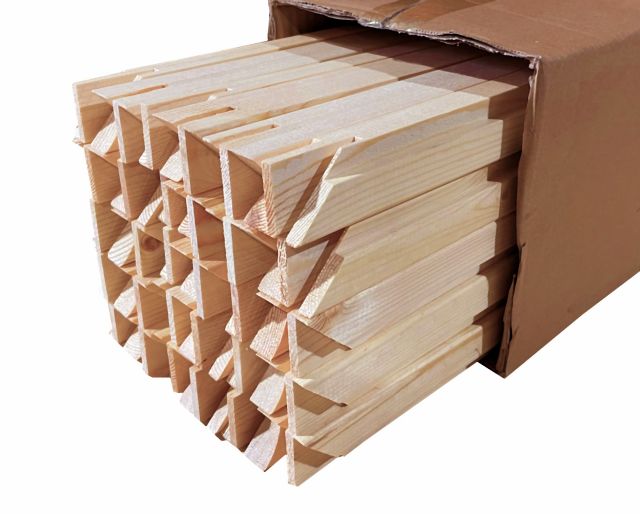
There are several types of stretcher bars available, including premium stretcher bars, gallery stretcher bars, and canvas stretcher pairs. The choice of stretcher bars depends on factors such as the size of your canvas and the weight of the fabric.
For example, if you’re working with a canvas larger than 36 x 48 inches, using stretcher bars with a thicker depth can help prevent warping and provide a stable painting surface.
Utilising stretcher bars comes with numerous advantages, such as enhanced canvas tension, customizable dimensions, and cost-efficiency.
Creating your own canvas offers several advantages.
It is typically more cost-effective than purchasing pre-stretched canvas.
It provides more control over dimensions, fabric, and primer.
It offers the opportunity to develop new skills.
After you’ve picked the most suitable type of stretcher bars, you can proceed to assemble your stretcher frame.
This process involves measuring and cutting the stretcher bars to the desired size, joining them securely, and ensuring the frame is stable and ready for your canvas.
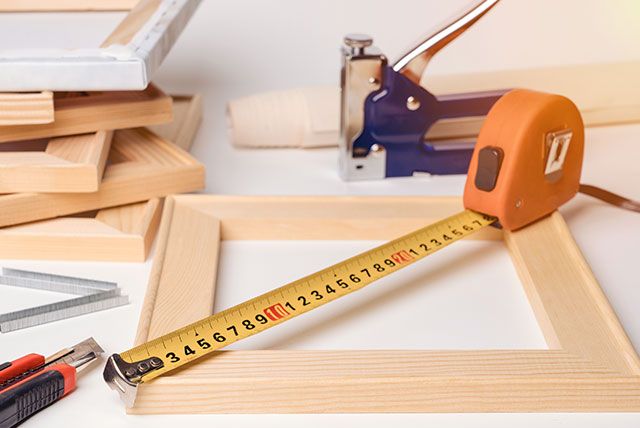
To begin, measure the length and width of your canvas and cut the stretcher bars.
Begin by determining the desired size of your canvas and add an extra 3 inches to each side. This will allow you to measure and cut your stretcher bars accurately.
Then cut the stretcher bars to the calculated size with a saw or miter box, ensuring precision for a perfect fit.
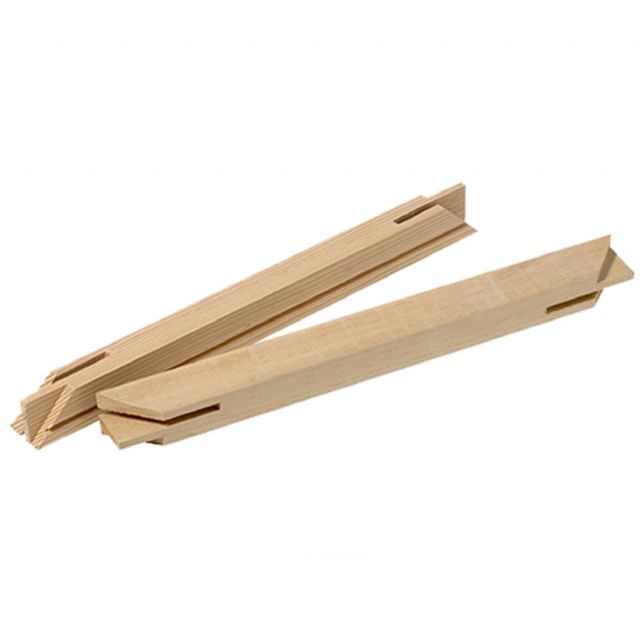
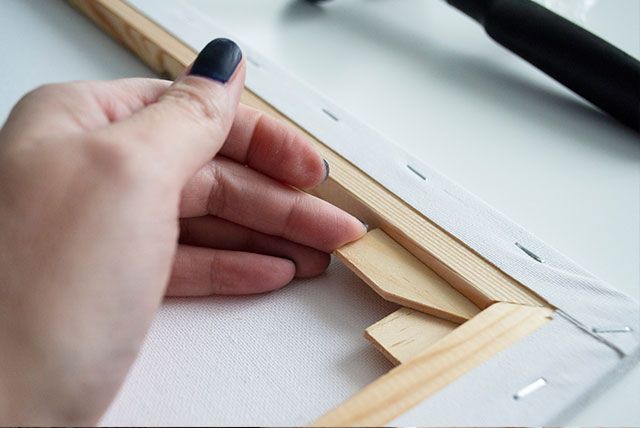
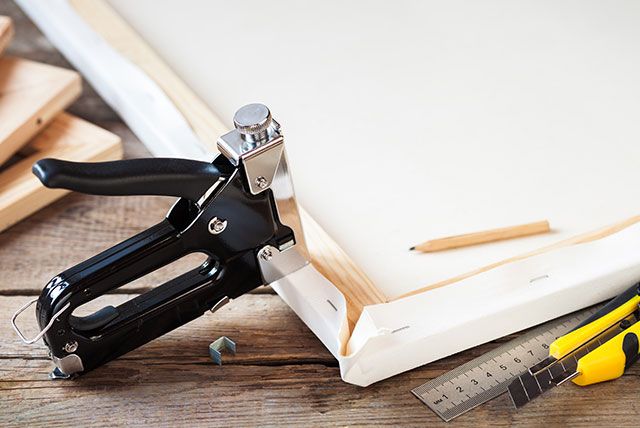
Joining the stretcher bars typically involves miter joints and notched ends. To connect the bars securely, slot the notched ends together or align the tenon with the corresponding mortise.
A mallet should be used to tap them fully tight, and if needed, a staple gun can be employed to further secure the canvas to the stretcher bars.
Before stretching your canvas, make sure to select the suitable canvas material and trim it to the correct size. This will ensure a proper fit on your stretcher frame and a smooth surface for your artwork.
The right choice of canvas material, such as cotton canvas, significantly influences your canvas painting results. Common materials include cotton canvas and polyester canvas, each offering unique benefits. Managing excess canvas is crucial to ensure a smooth painting surface and professional appearance.
For instance, the tight weave and smooth texture of Belgian linen canvas allow for precise detailing and seamless blending, making it an excellent choice for professional artists.
When cutting the canvas, use a utility knife and straight edge, or scissors, to ensure precision.
Add a margin of 3 inches to your canvas measurement to account for the extra length needed to stretch it over the frame. This will allow for proper coverage and tension once the canvas is stretched onto the frame.
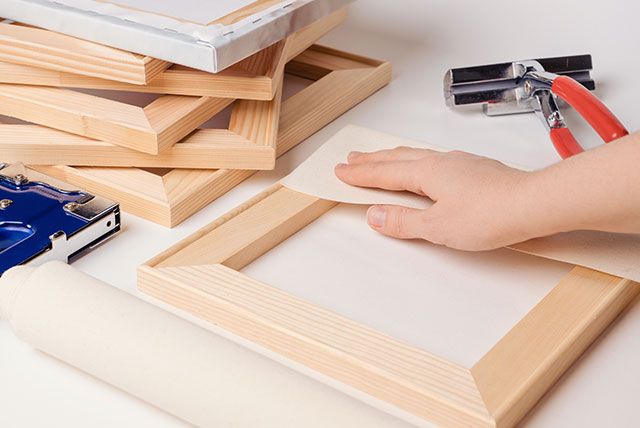
Having your stretcher frame ready and canvas cut to size, you can now stretch the canvas onto the frame. This process involves stapling the canvas, adjusting tension with canvas pliers, and folding and stapling the corners for a neat, professional appearance.
Start by stapling the canvas to the stretcher frame at the center of each side and work outward towards the corners. This approach ensures even tension across the canvas and minimizes the risk of overstretching or wrinkling the fabric.
To maintain even tension during the process, using canvas pliers is highly recommended when you stretch a canvas. Firmly grip the canvas with the pliers and pull it tight, ensuring even tension by pulling evenly on both sides of the canvas.
This will result in a smooth surface for painting.
For a clean, professional finish, fold the corners of the canvas and staple them to the frame. This will ensure your canvas remains taut and secure on the stretcher bars, providing an optimal surface for your artwork.
Investing time in properly securing your canvas guarantees the integrity of your artwork.
Maintaining and adjusting canvas tension is easier with the use of canvas wedges and stretcher keys. They ensure your canvas remains taut over time, providing a stable surface for your artwork.
To insert canvas wedges, follow these steps:
Place the wedges into the corner slots of the canvas frame.
Tap them in with a hammer until they are level with the frame.
This will create additional tension and help ensure your canvas remains taut, even as it ages.
Stretcher keys are useful for fine tuning the tension of your canvas. Insert the key into the slot and turn it clockwise to make the canvas tight, ensuring an optimal painting surface.
This can be particularly helpful if your loose canvas loses tension over time due to factors such as humidity and temperature changes.
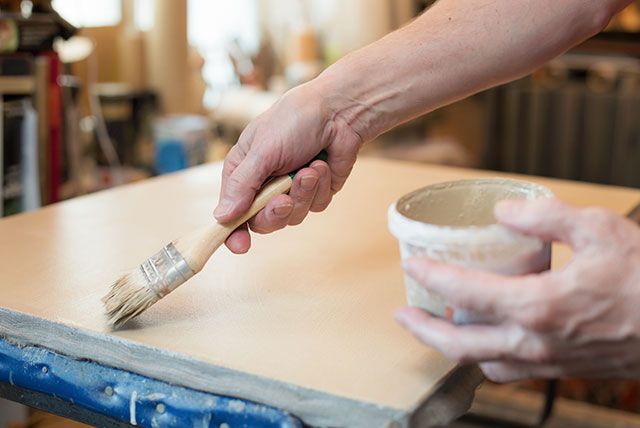
Proper priming and painting of your freshly stretched canvas is a crucial step before starting to create your artwork. This ensures a smooth, long-lasting surface that will showcase your artwork in the best possible light.
A primer, like gesso or PVA size, when applied to the canvas, hinders paint absorption and enhances adhesion. This is crucial for preserving the integrity of your artwork and ensuring a smooth, even surface for painting.
Allow the primer to dry completely before beginning your masterpiece.
When painting on stretched canvas, consider using a combination of brush strokes and palette knife techniques for added texture and depth. Start with a thin layer of paint and gradually build up the layers, allowing each one to dry before applying the next. This will help create a rich, vibrant artwork that stands the test of time.
Despite meticulous preparation, you may still face common canvas stretching issues like uneven tension or damaged stretcher bars.
Fortunately, there are solutions to these problems that can help you maintain the quality and longevity of your artwork.
Should you discover uneven tension in your canvas, adjustments can be made using canvas wedges, stretcher keys, or by re-stretching the canvas. By maintaining even tension across the canvas, you’ll ensure a smooth, stable surface for your artwork.
Cracking, splitting, or warping signs in your stretcher bars can risk the integrity of your canvas frame. In such a case, repairing or replacing the damaged stretcher bar becomes necessary.
This will help maintain the stability of your canvas square and protect your artwork from damage.
In conclusion, learning to use canvas stretcher bars and stretching your own canvas can save you money, provide greater customisation, and enhance the quality of your artwork.
By following this step-by-step guide, you’ll be well on your way to creating beautiful, professional-quality canvases that showcase your artistic talents. So grab your stretcher bars, prime your canvas, and let your creativity shine!
Canvas stretcher bars are pieces of wood that act as a frame for canvas artworks, featuring pre-cut slats which allow it to be stretched tautly. These bars may be plain timber or kiln-dried wood, and are fitted with wedges which can be tapped in to tighten the canvas, while the edges are designed to ‘roll over’ the profile, reducing the risk of cracking.
The use of canvas stretcher bars is a great way to ensure that your artwork is securely mounted and will remain in good condition for years to come. They are easy to install and can be used with any type of canvas, making them a great choice for any artist.
To put a canvas on stretcher bars, fold the canvas over the bar and use a staple gun to fire staples at a 45° angle, starting with the middle area. Pull the canvas tight as you go to ensure even tension.
Tap the keys gently to stretch the canvas to desired tension.
Stretcher bars provide greater stability and tension for canvas, preventing cracks in the paint layer over time.
Stretching your own canvas is a great way to save money, gain control over the dimensions, fabric and primer, and learn new skills.
Canvas wedges are essential for stretching canvas, providing the necessary tension and creating an ideal painting surface.